I know how important it is for you to feel confident in handling your car’s brake repairs. Drum brakes may seem intimidating, but with the right knowledge and tools, you can tackle the repair yourself and restore your vehicle’s safety and performance.
This guide will walk you through every step, from diagnosing problems to completing the repair, all while offering advice based on years of experience.
Let’s break down the process together so you can handle your drum brake issues efficiently and safely.
What Are Drum Brakes and How Do They Work?
Before we jump into the repair process, let’s first understand how drum brakes function. They might seem outdated, but they still perform admirably on many vehicles, especially for rear braking.
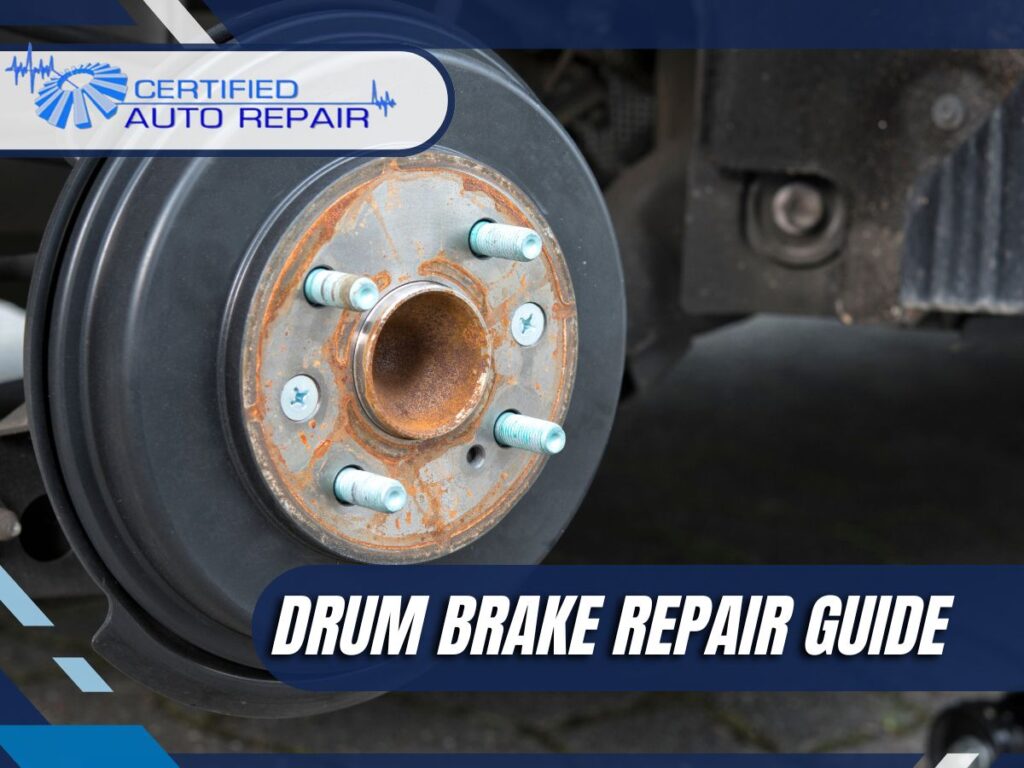
- Brake Drum: This is the cylindrical metal part that rotates with the wheel. It’s the primary surface where the friction occurs to slow the vehicle down.
- Brake Shoes: These are curved parts lined with friction material that push against the brake drum to slow the wheel down when the brake pedal is pressed.
- Wheel Cylinder: This component contains pistons that push the brake shoes outward, applying pressure to the brake drum.
- Adjuster: This part ensures that the brake shoes maintain the correct distance from the drum, so they work effectively.
The wheel cylinder pushes the brake shoes outward when you apply the brakes, causing them to press against the inside of the brake drum. The friction slows the drum—and the vehicle—down.
Common Signs of Drum Brake Problems
Knowing when to repair your drum brakes is key to preventing further damage. Here’s what to look out for:
1. Squealing or Grinding Noises
When you hear squealing or grinding noises, it usually means that your brake shoes are worn out or that debris has built up inside the drum. If you ignore this, you could end up damaging the drum, so it’s important to address it early.
2. Reduced Braking Power
If your braking response seems slower than usual or if you notice your vehicle takes longer to stop, it could be a sign that the brake shoes or drum are worn down. This problem could also be caused by contamination inside the drum.
3. Pulling to One Side
If your car pulls to one side when you apply the brakes, this often indicates that one of your brake shoes is worn more than the other, or the wheel cylinder isn’t functioning properly. This issue affects braking balance and can be dangerous.
4. Brake Pedal Vibration
If the brake pedal vibrates when you apply pressure, it could mean the drum is warped or has grooves that interfere with the shoe’s contact. This problem needs attention quickly, as it can compromise braking efficiency.
Tools You’ll Need for Drum Brake Repair
Drum brake repair requires a few specialized tools. Here’s what you’ll need for the job:
- Jack and Jack Stands: These are essential for lifting the vehicle safely.
- Brake Drum Puller: A tool used to remove stubborn brake drums that are stuck to the hub.
- Socket Wrench Set: To remove the nuts and bolts holding the brake components.
- C-Clamp: Used to compress the wheel cylinder when replacing or reassembling.
- Brake Cleaner: To clean the parts before reassembly and ensure no dust or grease interferes with performance.
- Replacement Brake Shoes and Drums: If your brake shoes are too thin or the drum is damaged, you’ll need replacements.
- Torque Wrench: Ensures that your bolts are tightened to the manufacturer’s specifications.
Having the right tools for the job can make a significant difference in the quality and safety of the repair.
Step-by-Step Guide: How to Repair Drum Brakes
Let’s go step-by-step through the repair process. By the end, you’ll have a better understanding of how to get your drum brakes back to working order.
1. Prepare Your Vehicle
Start by ensuring that your car is on a level surface, with the parking brake engaged. You’ll also want to wear safety gear like gloves and goggles to protect yourself from dust and debris.
Lift your car using a jack and place it securely on jack stands. Remove the wheel, exposing the brake drum.
2. Remove the Brake Drum
Usually, the brake drum comes off easily. But if it’s stuck, use a brake drum puller. Make sure you don’t damage the wheel hub in the process. Once the drum is off, inspect it for any damage. Look for deep grooves, cracks, or other signs of wear that may require replacing the drum.
3. Inspect the Brake Shoes and Wheel Cylinder
Take a close look at the brake shoes. If they’re worn thin or cracked, it’s time to replace them. Make sure the brake shoes are not contaminated with oil or brake fluid, as this can severely reduce their effectiveness.
Next, check the wheel cylinder. If it’s leaking fluid or showing signs of damage, replace it as well. Don’t skip this step—it’s critical to the overall function of the braking system.
4. Remove the Old Brake Shoes
Use a wrench or socket set to remove the bolts holding the brake shoes in place. You may also need to remove the springs that hold them. When taking out the old shoes, note how everything is assembled, as you’ll need to replicate the setup with the new parts.
5. Install the New Brake Shoes
Install the new brake shoes in the same orientation as the old ones. Ensure that the shoes fit snugly into place and that the springs are properly attached. The adjuster mechanism should move freely, as it will be responsible for keeping the shoes positioned correctly.
6. Install the New Brake Drum
For optimal performance and even wear, thoroughly clean the new brake drum with brake cleaner before installation. Ensure no dust, oil, or grease remains, as these contaminants can diminish friction between the drum and shoes.
Securely place the new brake drum on the wheel hub, making sure it fits tightly. If the drum doesn’t spin freely, check for anything blocking its movement during installation.
7. Reassemble the Brake Components
Once the drum is installed, reattach the wheel cylinder and any other components you removed. Be sure to adjust the brake shoes to the correct position and make sure the brake system is fully reassembled.
8. Reinstall the Wheel and Lower the Vehicle
After everything is secured, place the wheel back on the vehicle. Tighten the lug nuts in a crisscross pattern to ensure the wheel is evenly secured. Lower the vehicle back to the ground and remove the jack stands.
9. Test the Brakes
Before hitting the road, test the brakes at low speed. Check the pedal feel and ensure the car stops evenly. If there are any issues—like a soft pedal or uneven braking—it’s important to fix them before driving.
When Should You Seek Professional Help?
Although drum brake repair is within the capabilities of many DIY enthusiasts, there are situations when professional assistance is necessary. If you’re unsure about diagnosing the problem or if the issue seems beyond your experience, it’s best to consult an expert. Additionally, if you notice any major issues with the brake drum or wheel cylinder, or if you don’t have the proper tools for the job, seeking professional help is the safest option.
Case Study: Drum Brake Repair on a Classic Car
Let’s take a look at an example where a vehicle owner took the time to perform a drum brake repair.
Situation: A 1978 Chevrolet Camaro with drum brakes in the rear had started making a grinding noise. The owner noticed the braking power had decreased significantly, and the car was pulling to one side when braking.
Diagnosis: Upon inspection, it was clear the brake shoes were worn down and the brake drums had deep grooves, likely caused by old brake shoes rubbing against the surface. The wheel cylinder was leaking brake fluid, which was also contributing to the problem.
Solution: The owner replaced the brake shoes, installed new brake drums, and replaced the wheel cylinder. The job took about four hours, including removing the old parts and cleaning the new components. After reassembly and testing, the braking performance was restored to factory-like conditions, ensuring the car was safe to drive again.
Keep Your Drum Brakes in Top Shape
Drum brakes may be less common in newer vehicles, but they remain a reliable system for many cars, particularly in rear braking. Regular maintenance and early intervention can keep your drum brakes working effectively, ensuring your car remains safe to drive.
If you decide to repair your drum brakes yourself, follow the steps outlined above carefully, and always prioritize safety. Remember, if you feel unsure or uncomfortable with any aspect of the repair, there’s no shame in seeking help from a professional.
Frequently Asked Questions (FAQs)
1. How do I know if my drum brakes need repair?
Look for signs like squealing, reduced braking power, or vibrations in the brake pedal. If you experience any of these, it’s time for a closer inspection.
2. How long should drum brakes last?
Drum brakes typically last between 30,000 and 70,000 miles, depending on how often you drive, your vehicle type, and driving conditions.
3. What can cause my drum brakes to wear out prematurely?
Improper maintenance, driving in heavy traffic, or excessive weight on the vehicle can cause premature wear on drum brakes.
4. Is it okay to drive with worn drum brakes?
No, driving with worn or damaged drum brakes can affect your ability to stop, putting you and others at risk.
5. Can I replace drum brakes myself?
If you have basic mechanical skills and the right tools, replacing drum brakes is a feasible DIY job. However, if you’re uncertain, it’s better to consult a professional.